Greetings. I have had the opportunity to purchase and test out an incredibly well constructed piece of gear, the Zebra Handle Pot Auto Lock or more famously known in the west as the Zebra Billy Pot in the 14 cm.

Zebra Cookware is a company based out of Thailand and they make some pretty serious cookware. Anybody who has ever served or contracted in the Middle East and worked with "eastern" contractors have probably seen the stainless steel food carriers the eastern counterparts carried. This is so the reheating of the food can be done on a portable gas stove or let the intense Arabian sun heat it up. Much better than a microwave and Zebra doesn't skimp on quality. This bad boy is built of some thick gauge stainless steel.
- Height: 5.51 inches (14 cm)
- Diameter: 5.71 inches (14.5 cm)
- Volume: 67.63 fl oz (2 liter)
- Weight: 1.6 lbs (.725 kg)

First thing I did was harvest some awesome spring water that flows right out of the Pioneer mountains in southwest Montana. The U.S. Forest Service installed a pipe to make harvesting easy and they test the water regularly. No other water on Earth can beat mountain spring water filtered through millions of years of Rocky Mountains. This spring is found by taking the Apex exit, 10 miles north of Dillon, MT on I-15. Go west on the Birch Creek road until you get into the mountains. There will be an bend in the road to the north and an obvious pullout where a short footpath reveals the spring... and then I trekked on. (Coordinates for the spring in Google Maps 45.380406, -112.800299 or 45° 22' 49.5" N 112° 48' 01.1" W)
 |
| Birds nest is a variety of Rocky Mountain bunch grasses. |
 |
| An ESEE firesteel and Rocky Mountain chert will do. |
 |
| Charcloth is glowing and can be added to the tinder. |
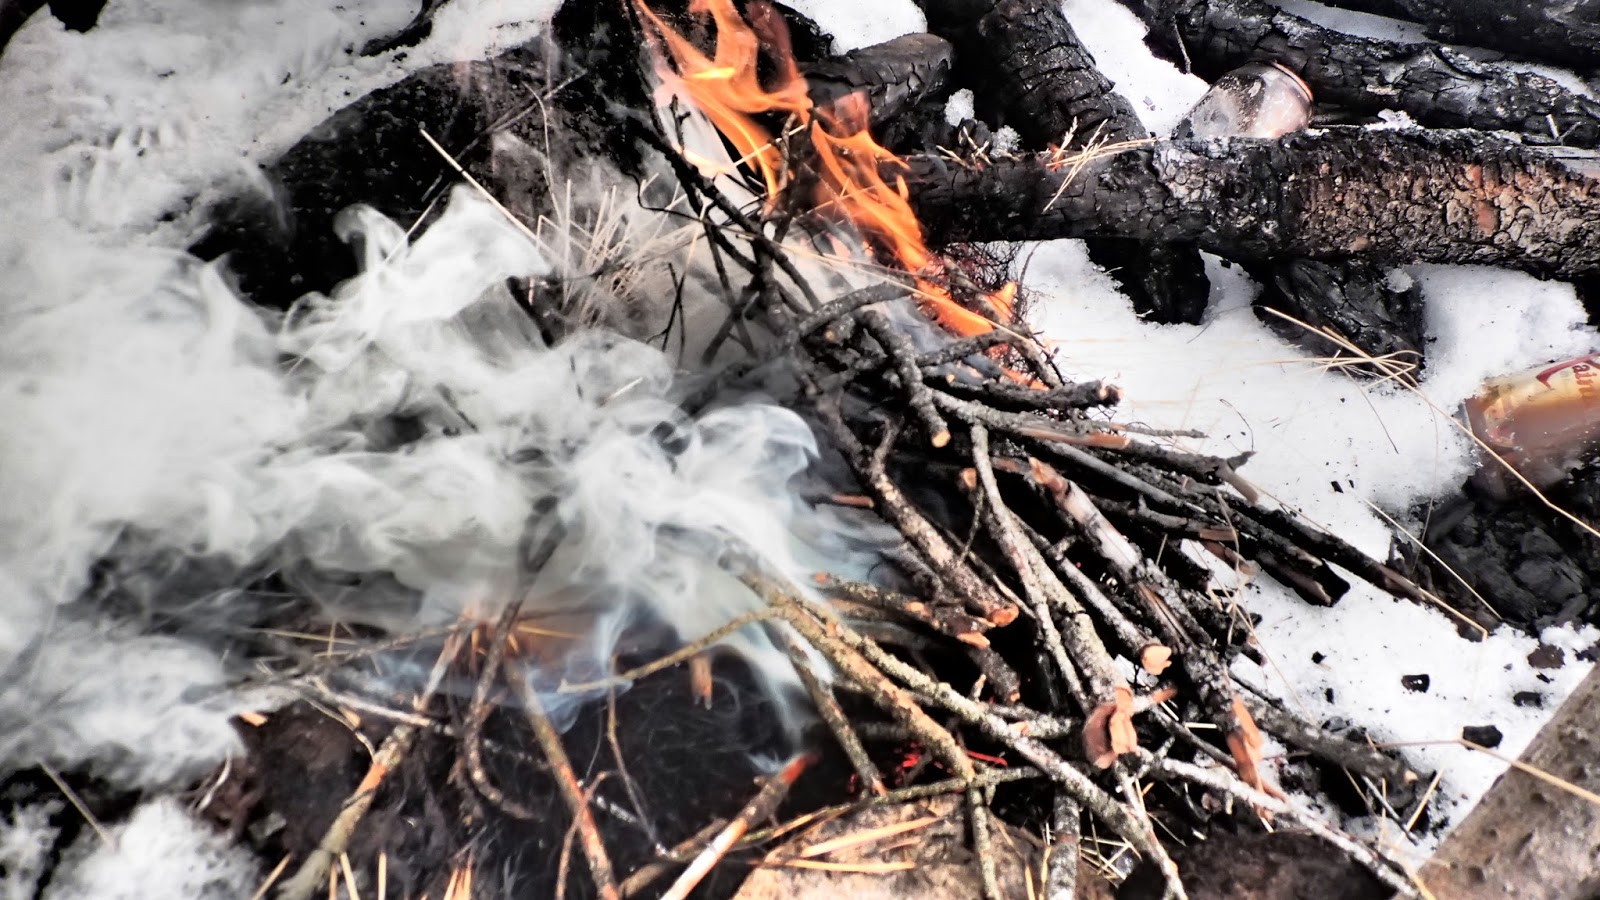 |
| Fire ignited and the Beaverhead wind lends a hand. |
 |
| Less smoke and more flame is alright with me. |

At my basecamp, after I got a fire blazing, I suspended my pot filled with water above it fixed to a bipod. The bail is heavy duty and not a wire bail. Everything about this pot is heavy duty but because of the width of the bail, the notch in my suspension had to be cut deep. Cordage with a toggle would be more appropriate to use with this wide bail but other than that, I have no complaints. It was quite chilly out but did not take long to get my water boiling and I added some Douglas fir (Pseudotsuga menziesii) needles and immediately removed the pot from the fire. Do not boil the needles, they need to be steeped like... well... tea, this is needle tea also called an infusion. If you boil the needles, it will be a decoction and all the turpines will be released and you will end up with the trotskies. Always harvest the young, robust looking needles. Although, everything does look more mature in the winter.
 |
| Transfer the infusion to preferred drinking container and remove floating needles however available. |
 |
| Enjoying my tea. |
 |
| Water to boil for coffee and a hunk of meat. |
 |
| Grounds and water added to my GSI Commuter Java Press. |
 |
| Added the press. |
 |
| After 4 minutes, coffee is ready. |
Once the coffee was finished, I put the pot back on the fire and added the dish it comes with. I have read on Amazon and multiple sites that have done reviews that the dish allows the pot to become a steamer, this is incorrect. What the shallow dish does is it turns the pot into a double boiler. I chopped up some peppers and tomatoes with a little sea salt and inserted the shallow dish back on the pot and added the lid to let the double boiler heat the veggies. I also flipped my hunk of meat.
 |
| Take note of the metal clips on the pot connected to the bail. |
I bought my pot on Amazon because listed here is the version with the steel clips added to lock the handle. The plastic clips that come standard will lock but plastic melts. Are the locking clips necessary, not at all but they are very nice when transferring water from a hot pot with no gloves.
 |
| Meat is ready. |
 |
| Veggies are under cooked but hot and suit my needs. (1.54 inches or 3.9 cm deep) |
 |
| This lunch will do in a pinch. Yum. |
Impressions: The Improved Zebra Billy pot is a great bushpot and will last anyone who properly maintains it a lifetime. The metal clips are very handy and if I had ordered the pot without them, I would have eventually ordered the metal clips (found here). The shallow dish is great for a container to harvest wild edibles and medicinals when preparing boiling water or for using as a serving or eating dish. I haven't tested it but I reckon, charred materials could be made with the dish and pot for future fires. The thick stainless steel also is great for resisting rust and the pot could work as a fire transport as well. The thick bail makes it difficult to suspend the pot with a bail notch but this is easily solved with a toggle. It would be nice to have a folding butterfly handle but the locking clips solve this. I highly recommend this pot to anyone looking for a versatile cooking and eating container. I hope this review is informative and am open to all tips, criticism, and feedback. Enjoy your new year and make it a resolution to spend more time outside.
Skål


